Updated March 10, 2021
- Log in to StudyGate.
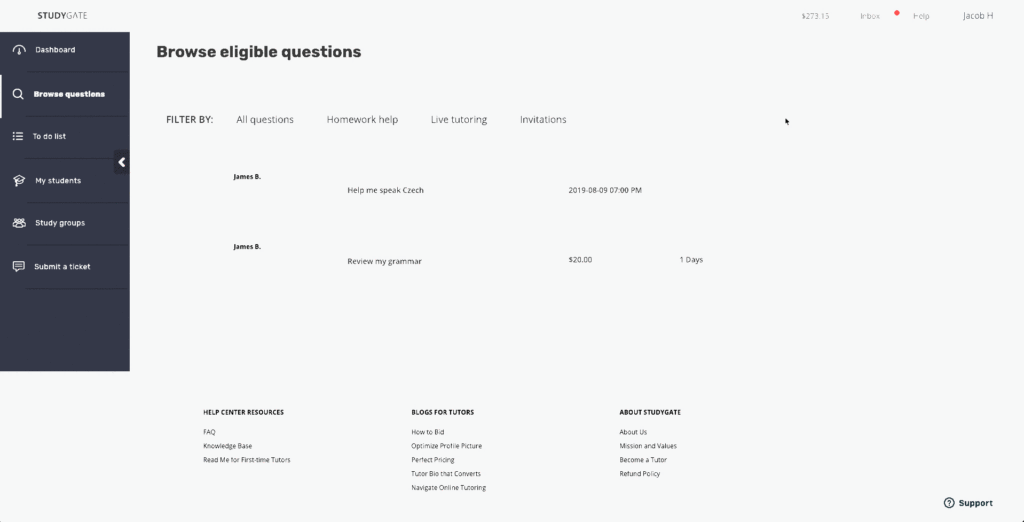
- Click “Browse Questions.” For online tutoring, you’ll be able to see when the student wants to meet.
- Look to the right on the chosen question, click “Next,” then make your offer. You’ll be able to set your hourly rate with the student when the live session begins. Make sure to confirm it with them in your offer.
- When you and your student are ready to begin your live session, click the live tutoring question, and select “Start a session.” Your student will receive a notification that you’re ready to begin. System troubleshooting options can be found here.
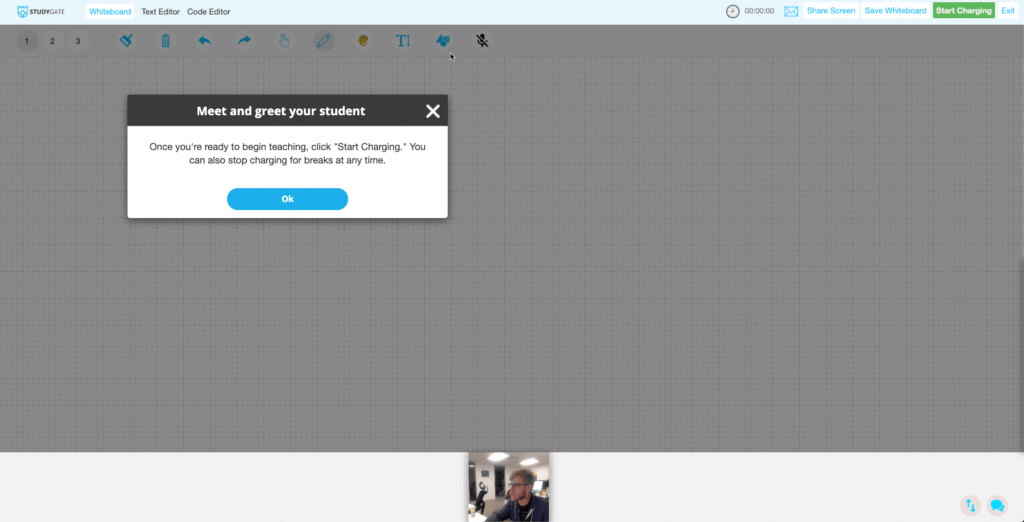
- When you are connected with your student, you need to start charging them after your meet and greet. The system will charge the student based on the minutes taught and your hourly rate. The second part of the GIF below shows what the charge process looks like from the student side. Your student will need to accept your charge for the payment session to begin.
- During your live tutoring session, you and your student will have access to the StudyGate whiteboard. Here’s how to use it.
- When you and your student have finished your session, click “Stop Charging.” You will receive the tutoring fee in your StudyGate wallet after the session finishes.
- The online tutoring question will remain active until the student decides to close your sessions together.


